


Trimix/CCR/Cave Diving Instructor Trainer
Most online articles about rebreathers cover what can go wrong: oxygen sensors, scrubber duration, electronics, failure modes. Mastering emergency procedures is essential – no argument there.
But one thing gets skipped: how to actually dive the thing.
Plenty of experienced CCR divers are still not comfortable in their rig. Their gear is a mess, their face buried under two hundred hoses, straps, and D-rings. They move about as gracefully as a grasshopper with a mini-fridge strapped to its back and a vacuum cleaner wrapped around its head. Ask why diving feels so hard, and eventually most of them admit it: their trim sucks.
CCR divers spend so much energy fiddling with their units and managing every modification that they forget the fundamentals every diver – on any kit – needs to master. Somewhere along the way, “simple” and “easy” left the vocabulary entirely.
Step 1: Get Streamlined
A lot of rebreather divers move inefficiently, closer in posture to a sea horse than a manta ray. They burn energy fighting drag they created themselves, on top of the drag water already gives them for free.
As Jarrod Jablonski put it: “drag increases with the square of velocity, and the energy needed to overcome it scales even faster – double your surface area, and you’re looking at roughly sixteen times the energy cost“. Translation: reduce your surface area. Most of that drag comes from hoses and danglies sitting further from the body than they need to. More drag means more exertion, which means more O2 burned, more CO2 produced, and a shorter dive. All the reasons you bought a CCR, undone by bad configuration.
Configuration and danglies
Rebreathers already look bulky. Add sling tanks and sloppy routing and you’ve got the full astronaut look — cool, impressive, but not streamlined.
- Handsets: usually strapped to the forearm, trailing an inelegant cable back to the electronics. Have someone film you underwater — you’ll be amazed how much cable is flapping. Better routing, or a bungee loop in the right spot, keeps it tight to the body in any position, not just vertical in front of a mirror.
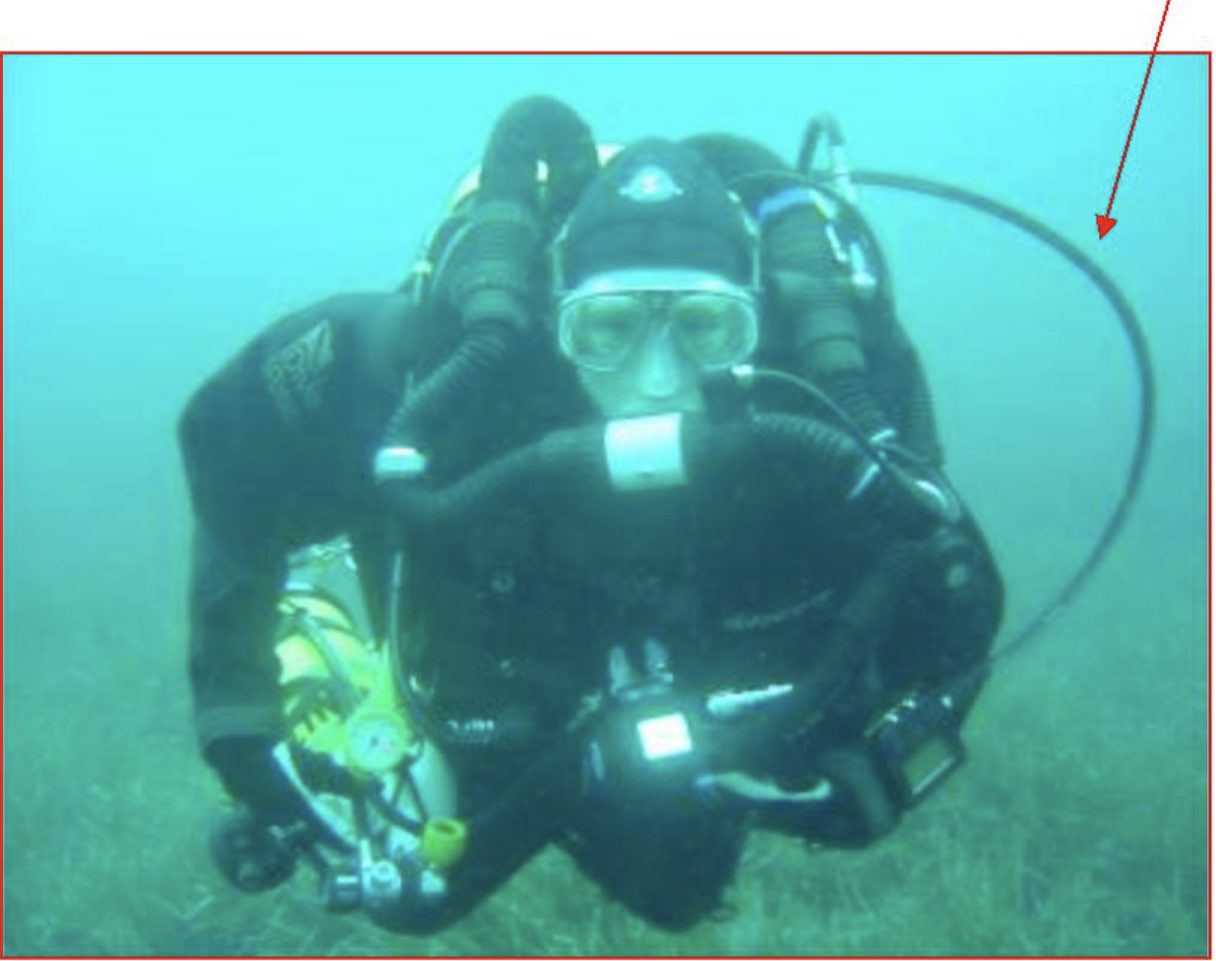
- SPG and LP hoses: shorten them. Hoses that dangle or bulge when you’re horizontal are just drag waiting to get caught in a piece of wreckage. And any hose or fitting you don’t strictly need is like a pimple on a fashion model’s face – remove it immediately.
- Counterlungs: over-the-shoulder counterlungs look cumbersome next to back-mounted setups, but they can still be tucked close – almost under the armpits – without hurting work of breathing or comfort. Clear chest, easier movement, less drag near obstacles or the bottom.
Balance and trim
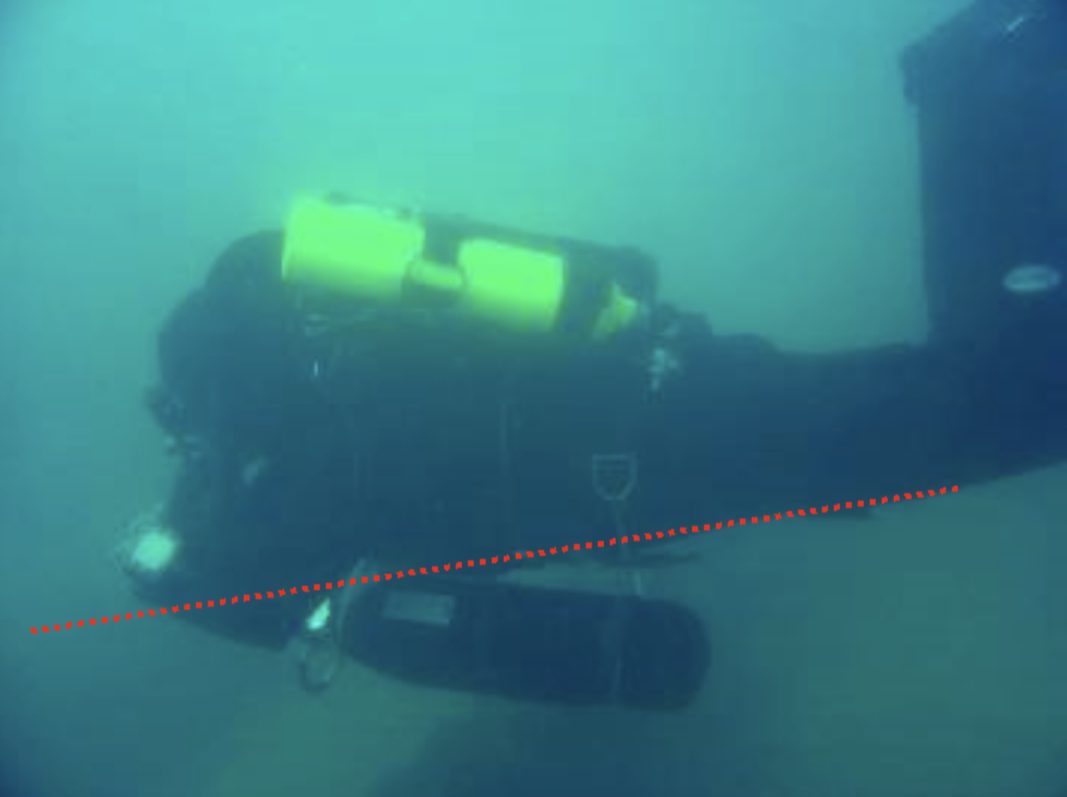
A steady horizontal position (slightly head-down, feet up) should be the default for every diver, not just cave and wreck specialists. Most divers think they’re horizontal. They’re usually only horizontal while actively swimming, and drift vertical the moment they stop. A properly balanced rig lets you stop dead, stay horizontal, and still tie a line in a cave or fiddle with a camera without sinking into a “butt-heavy” slouch.
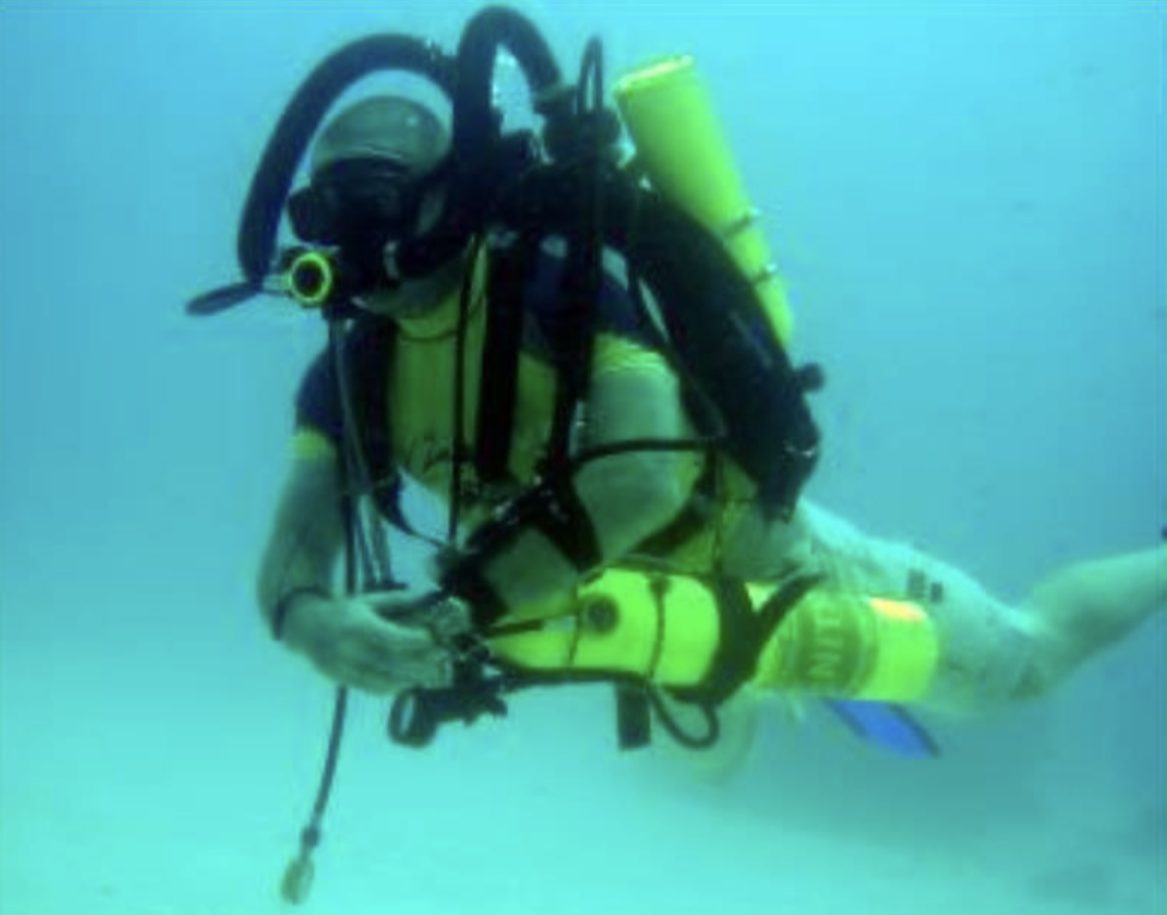
Balance is hard because many back-mounted or chest-mounted units carry their heavy parts (valves, regs) low and their buoyant parts (counterlungs, wing) high. Fixes:
- Cylinders and regs: some CCRs let you de-invert tanks to shift weight upward.
- Trim weight: cased units with less configuration flexibility can add weight up top to compensate.
- Wing/backplate: a short wing with more lift low than high helps a lot.
- Counterlungs: smaller volume and less gas (optimal loop volume) mean less unwanted lift uptop.
Then factor in the rest of your gear:
- Dry vs. wet suit: a dry suit usually trims better, adding buoyancy at the legs. Wetsuits – especially compressed at depth — often don’t help.
- Extra gear: bailout tanks and canister lights can be moved up or down to improve your trim.
Get a friend with a camera to film you underwater, then go home and see what you actually look like. Spot the danglies that can stir up the silt on the bottom. Note what needs tightening. Go back, repeat, until it’s second nature. One diver I know uses a big mirror in his pool – instant feedback, adjust on the spot, like a dancer working a ballroom mirror.
Step 2: Master Buoyancy Control
With trim handled, buoyancy is next – arguably the hardest skill in diving. You’re managing gas in the wing, the drysuit, and the loop, plus suit compression at depth, tank buoyancy as it empties, automatic O2 injection in the shallows, and gas lost clearing your mask or equalizing. A lot of moving parts for a skill that only recently got more attention.
At constant depth
- O2 injection (manual, solenoid, or CMF valve): keep loop pO2 – and therefore buoyancy – steady.
- Optimal loop volume: if you can take more than a comfortable deep breath from the loop, there’s too much gas in it. Excess loop gas means more O2 injection, more expansion/compression with depth changes, and more unwanted lift up top.
- Drysuit inflation: once pO2 and loop volume are dialed in, use just enough drysuit gas to avoid squeeze — unless you deliberately use the suit as your primary buoyancy tool, which is a matter of preference and practice.
- Wing/BCD: use it last, after everything else is sorted. The more tools you’re juggling, the more you have to manage on ascent – and by the time you notice you’re rising too fast, it’s often too late.
During descent
Same principles as constant depth, just slower. Balance positive buoyancy (diluent/O2 injection, wing, drysuit) against negative buoyancy (weights, gas and suit compression, gas lost equalizing) by descending slowly enough to manage all of it.
Drills:
- Descend horizontally – harder than it sounds, since you can’t fin against your rate of fall in that position.
- From horizontal, descend slowly and stop within 50 cm of the bottom or a target depth.
During ascent
Rebreather divers get into more ascent trouble than open-circuit divers – expanding air spaces everywhere, and a lot of rebreather incidents trace back to uncontrolled ascents. Start your ascent with minimal gas in loop, drysuit, and wing to avoid a runaway.
Keep it horizontal on the way up, position your OPV properly, or exhale off the loop to hold volume steady against O2 injection. Vent the wing from the bottom dump, not the corrugated hose – that one needs you vertical.
Don’t cheat by shutting off your ADV or diluent valve. Learn how much gas you actually need to vent without emptying the loop.
Step 3: Master Propulsion
Horizontal, balanced, motionless at will – now add efficient kicks and you can go anywhere with minimal oxygen cost. Comfort, low stress, low drag.
Experienced divers rotate between kick styles: it rests different muscles, and it adapts to the environment – a frog kick in open water, a modified flutter in a tight, silty passage where a full frog kick would hit the walls.
Anyone diving silty or overhead environments knows visibility loss is a real safety issue, and trim is the single biggest factor in avoiding it. With good trim and buoyancy, a diver can move through wrecks and caves that would otherwise get trashed. Rebreathers don’t have exhaust bubbles to blame – poor visibility here comes down to sloppy kicks, flailing hands, and bad trim.
- Modified flutter kick: small, bent-knee kicks directing water upward rather than the big, silt-blasting flutter recreational divers use. In extreme silt, do it from the ankles only.
- Frog kick: a cave-and-tech-diver staple that removes the downward component entirely. Not as powerful as a flutter, so it’s less useful in strong current, but it directs water back rather than down – hence its popularity.
Is it just about Comfort?
Ask rebreather divers why they love their unit and you’ll hear about silence, no bubbles, or low gas consumption, but rarely about comfort and ease. On the other hand, Open Circuit divers get comfortable with their rig faster, mostly because most CCR divers never put in the work on trim, balance, streamlining, propulsion, or buoyancy. It takes longer and it’s harder than on OC. But like most things worth doing in diving, it pays off.
I’ve never met a rebreather diver who didn’t, at some point, admit their unit felt cumbersome and their trim needed work.
Comfort on a CCR isn’t just nicer – it’s safer. By being more streamlined and better at swimming, you save your energy and your gas, minimizing the risk of hyperventilation and hypercapnia. By being neutrally buoyant, you’re freeing your mind and can better deal with any situation that may arise underwater.
Rebreather diving is all about time spent underwater. Might as well spend it looking as graceful as a manta ray instead of a sea horse, and be a safer CCR diver in the process.
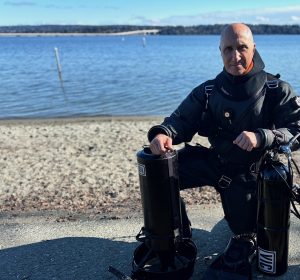
About the author:
Cedric “Vic” Verdier is an IDF Instructor Trainer based in the USA where he teaches mixed-gas and cave diving. He has been using rebreathers for 30 years and his current “weapon of mass exploration” is a dual Liberty sidemount CCR. When he is not underwater, you can find him walking in nature with his black German shepherd or coaching at his gym in Seattle.
